Tried to finish the manifold, but when I welded the collector (this is where the pipes come together) it came together alroght, but the the heat (actually the cooling) caused all the pipes to point in the wrong directions and not match up with the exhaust ports.
Sunday, 20 February 2011
Manifold problems
Tried to finish the manifold, but when I welded the collector (this is where the pipes come together) it came together alroght, but the the heat (actually the cooling) caused all the pipes to point in the wrong directions and not match up with the exhaust ports.
Sunday, 30 January 2011
The long todo list
I was communicating with Tim the other day and worked out my list of things to do. At the beginning of a project I try to avoid todo lists, as they are long and tend to put me off starting. Also the list just gets longer as more things are found, which is a be depressing.
But now seems like a good time for a list:
Welding up a few tiny holes in the collector: need to find someone with TIG, or attempt this with MIG. Probably need to make a support to stop the headers warping from the heat.
Making gaskets for the turbo interfaces (just a bit of copper sheet that needs cutting). Done
Bond and seal the inlet plenum. Done
Brackets to hold plenum to engine, otherwise the boost will pull the plenum off the ITBs.
Oil return to engine (got the bits just need to drill and bond). Drilled and bonded. Done.
Oil return hose needed, just some 5/8 oil resistant hose.
Fuel pump (present pump doesn’t pump enough). walbro 255 bought (gss342) is a plug and play swap. Need to put pump together, and test. Present plan is to use external regulator, but standard filter, so epoxy in the stock pressure regulator.
Fuel injectors, to purchase s2000 injectors, can’t find them anywhere. Sourced from s2000 owner in USA. Hopefully they will arrive in a week or so.
Fuel pressure regulator. Bought (£25 from McGill Motorsport). done
Fuel return hose to tank and into tank.
Finding a good place to mount the intercooler
Plumbing the intercooler
Work out how I am going to manage boost control (probably rely on the existing dump and wastegate in the first instance, but I need to test these first, subsequently I can wire up megasquirt control of this and run a boost map)
Configure the megasquirt to run a boosted set-up.
Ideally I need to replace the head on the engine, and put in a cylinder spacer to drop the compression (this should also fix the oil leak that is becoming a bit serious, 1litre per 100miles!). But I may have a blast with the high compression engine first. Parts found from US supplier 2mm spacer should drop the compression to about 9:1, which would allow a safe 1atm boost.
Back out to the shed now to get moving on the plenum mounts.
Wednesday, 19 January 2011
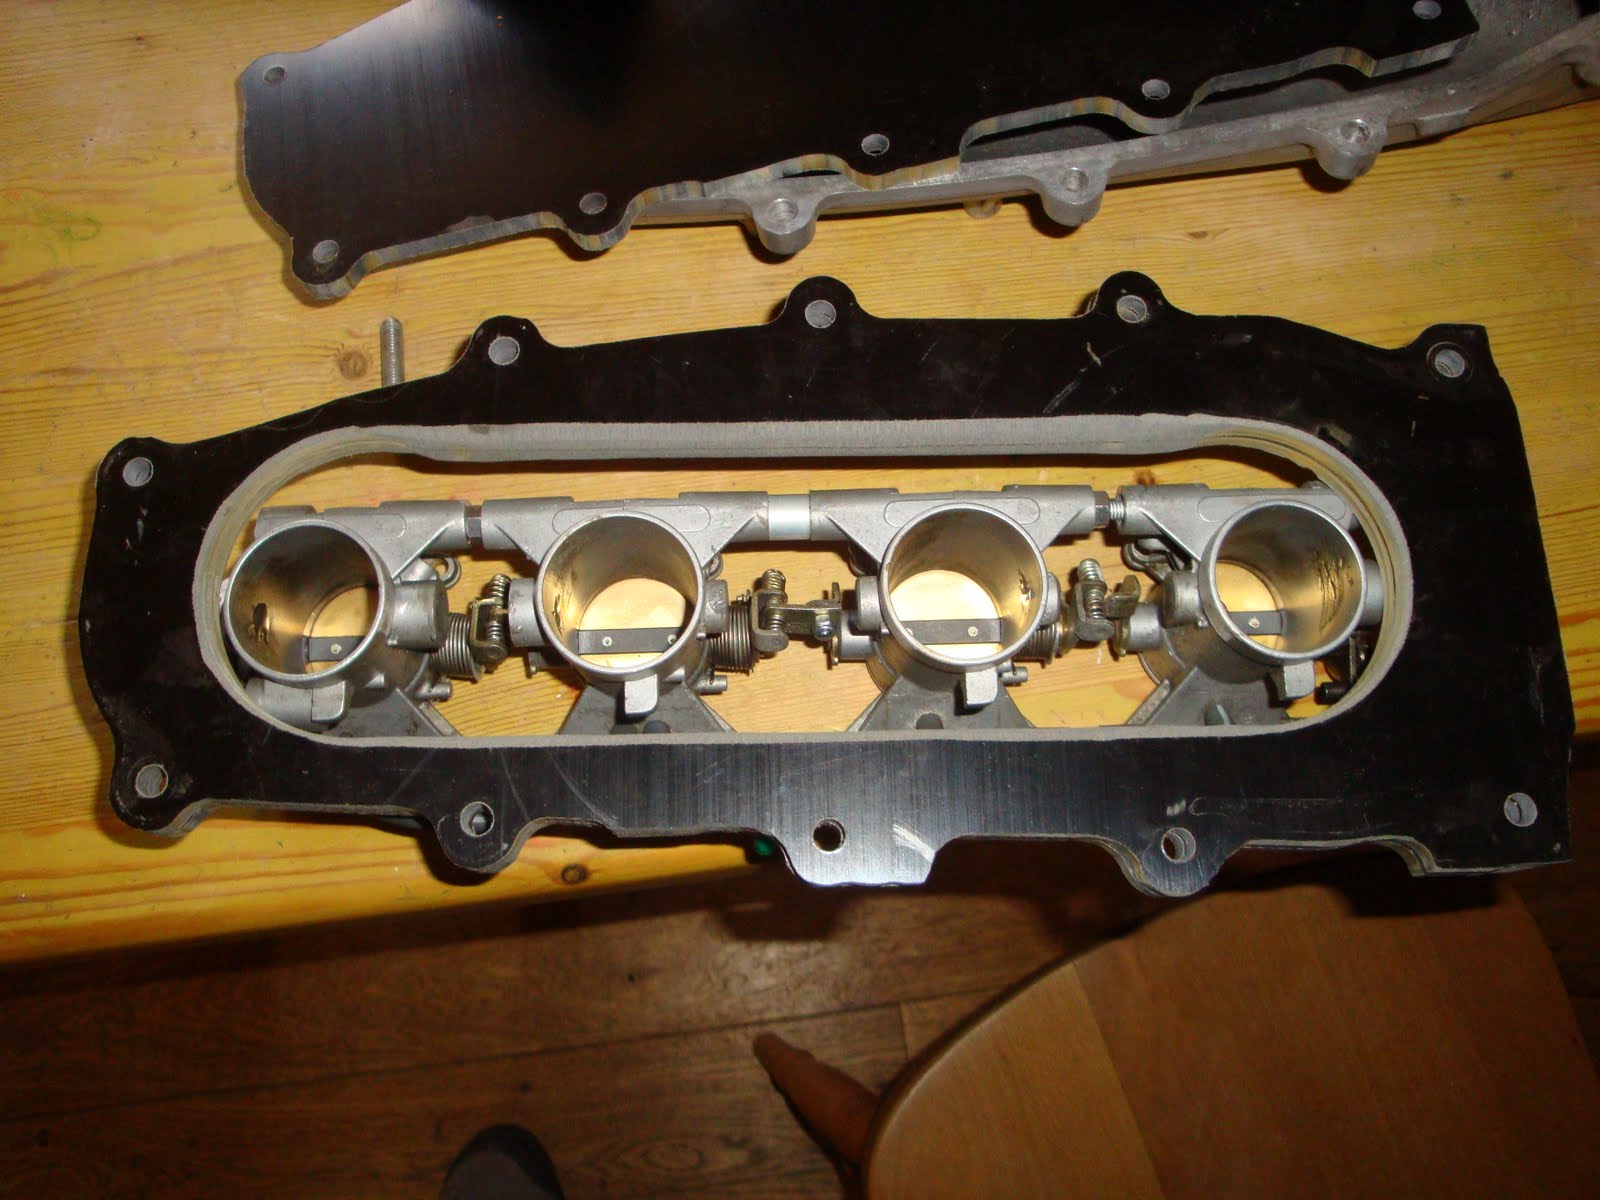
Plenum completed


Had a brainwave and realised I could reuse the airbox rubbers from the gsxr600.
Tuesday, 18 January 2011
Plenum planning
I worked hard to make a nice airbox on the gsxr engine. Now I am turboing the engine I need an airbox that can handle the elevated pressure. The pressure might be as high at 15psi, which results in big forces over the area of an airbox. For example if the airbox were 14inch x 6inch then the net force of 1200lbs on the wall of the airbox. This means that something strong is needed!
Exhausting progress
The outlet from the turbo is 70mm (2.75in) downpipe, so it made sense to match that. So I measured up and worked out what I needed. The plan was to reuse the existing silencer (which is big and heavy but nice and quiet) which is 2inch input. So I bought a couple of 45degree 70mm bends. Once these arrived I realised that in my calculations I hadn't accounted for the length of the bend and there wasn't sufficient space before the silencer. So, order new silencer from Jetex which is a bit shorter, and slightly larger bore (2.5inch, you can't get them in 2.75in), and a 45deg bend in 2.5in for the tailpipe.
To get the 70mm down to the silencer I cut 2 8inch long wedges from the bend and then closed that up with a couple of exhaust clamps and then welded it together. I am not much good at welding, but by putting an aluminium tube under the weld means that burning through isn't a problem and the backing reduces the need for purging the weld from behind (something I don't have the luxury of).
After loads of cutting, welding, measuring, grinding etc I ended up with this.
I need to clean up the weld in the middle of the downpipe and weld the downpipe to the flange.
Finally I bolted it all up, welded up a support bracket with a captive nut, and modified the tailpipe to allow it to exit from the side of the body (its great being able to weld, even if I am rubbish at it).
Sunday, 2 January 2011
Turbo looks a bit big in there
Problems at the moment are that the compressor outlet points up into the bonnet so will need a sharp bend, and the turbo inlet is a bit close to the bonnet (about 3inch) so will need an elbow on the inlet.
,
manifolds aren't as easy as they look!
When people ask for advice, why don't they take it???? well in my case I had gone to far already, and I don't know anyone who can tig local to me.
The good news is that when the 12mm turbo flange distorts you can "machine" is back to flat using the flat face of a grinding wheel mounted in an angle grinder (remove the guard, wear gloves)
The bad news is I am a rubbish welder. Don't try to learn to weld on a manifold.
It has been an interesting challenge though.
Do's and don't of making a turbo manifold.
Do:
Draw up flanges in CadStd and get them made by andyw7de
Ask andy to supply a few offcuts of the same stuff to sort settings
Butt weld the pipes
Get a B&D power file and loads of belts
Get a new angle grinder because your last one broke
Think about how you are going to do all the welds
Tack it and then get someone to Tig it!
Don't
Try to learn welding on a manifold
Start welding (beyond little tacks) before finishing off all the pipes, as its difficult to get access later on.
Overlap pipes, well it seems to work, but looks rubbish
Think that welding is easy
Weld it when it isn't clamped up, as it will distort
I've still got a few holes (in the merge), but hopefully I can bodge that together. Then I can watch it all crack when I put it on the car!
Its all about the journey!